Heraldic Tabard Construction Project
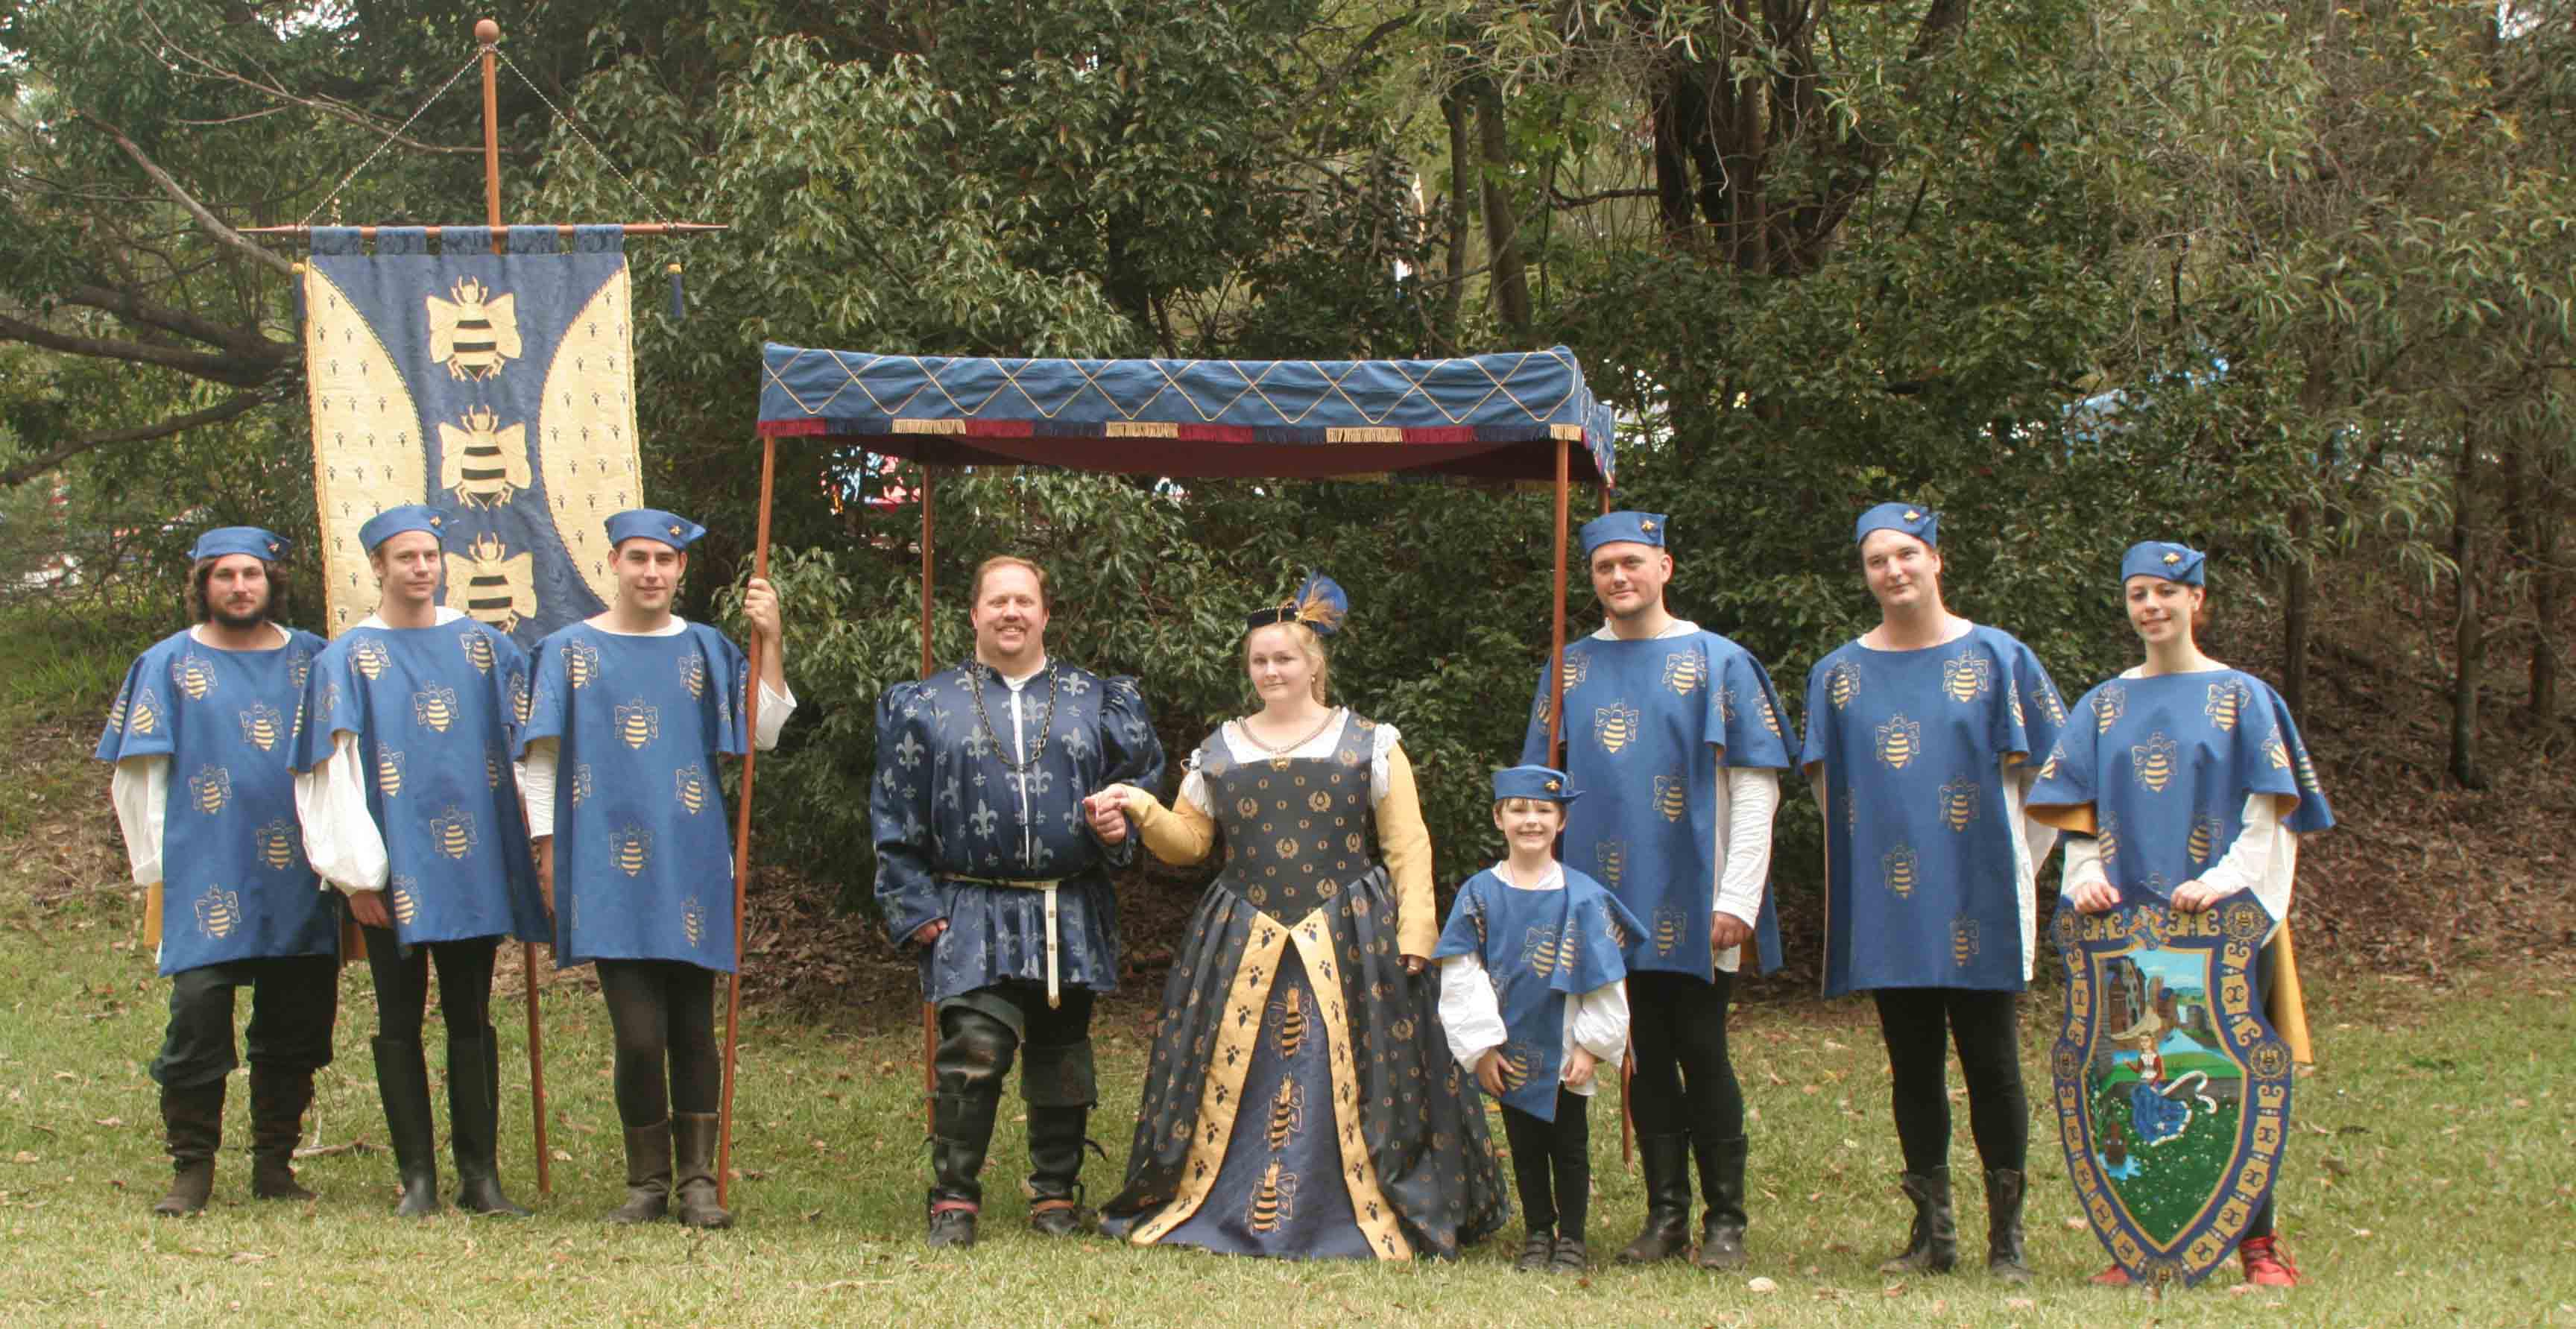
First things first - to make a tabard, you must first decide what particular period your tabard should suit. This may be dictated by the fighter’s persona or the relevant time period of his armour or one of many other considerations. The Whyte Companie of St Michael depicted above is a household of 15th Century Burgundian persuasion and much of their pursuits are focused on that period and culture. Their tabards are likewise based on a 15th century Burgundian style and the ones depicted here are mostly machine appliquéd tabards constructed with velveteen, damasks, silk, brocade and various couching cords and fancy trim to achieve a rich textured appearance.
The following is a quick and easy tutorial on making a cheap and cheerful stencilled tabard in this 15th century Burgundian style. Luckily for this period in history there are several extant examples available on which we can base a design on. (Neubecker, pg 24).
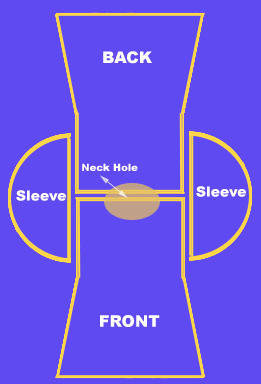
Note that the body shape is almost rectangular and seems to flare out by barely a few inches on each side towards the bottom of the tabard. The sleeves are a full semicircle and appear as a quarter of a circle when laid flat like this. This will actually allow for quite an economical use of material when making more than one tabard at a time. I have chosen this style for a project to make some livery depicting my personal badge to be worn by ceremonial banner bearers. This project would also suit a heraldic melee team or similar.
Firstly, I measured the shoulder size of my largest banner bearer and made a pattern based on the measurements required to fit that person. I made my pattern from some large paper (any paper will do – newspaper joined with sticky tape if you’ve nothing of sufficient size) for both the body pieces and the semicircular arm piece.
The image depicted below shows how the pattern transferred to the fabric to get the most economical use of the fabric.*
(* these measurements do not include account seam allowances)
The length of the tabard will be determined by the desired finished length of your tabards. In this project, the length of my tabard was determined by the width of my material – I left them a little longer than I thought I would need as you can always trim them shorter if needs be. Once you have cut out and over locked your pieces the tabard you then have several options for applying the heraldic decorations
- Hand embroidered and/or appliquéd – you might choose to use this sort of technique for a special ‘one of’ or ceremonial tabard or should time permit.
- Machine embroidered or fancy fabrics – if making tabards for a small group you might create a lavish appearance by using damasks, brocade and velveteen and perhaps machine appliquéd techniques which are relatively quicker and cheaper than hand embroidered methods.
- Painted Fabric or stencilled – hand painting or stencilling the required heraldic devices onto your ground fabric is a useful method when making many identical tabards and it is a very inexpensive and time economical option.
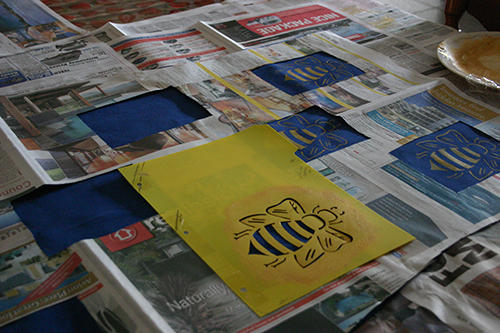
- The tabards for this project have been completed using stencilling techniques as I wanted to make several identical tabards for a particular occasion and was working to a time frame. Firstly you must make a stencil of your badge/device.
Hints for making your own stencil
- Simplify your design - bold representations will stencil better than intricate details.
- Stencil blanks can be purchased at most craft shops or plastic A4 dividers work great.
- A good scalpel will make short work of cutting out your stencil.
- Leather punches of various sizes are great if you need neat rounded edges or circles.
- Be careful when washing and storing your stencils – if they get bent they’re done for.
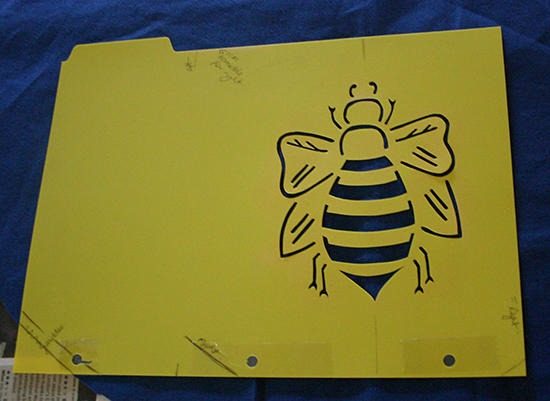
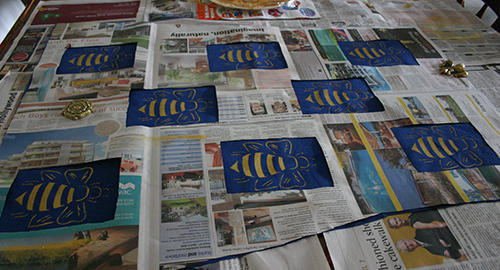
Once you’ve made your stencil, the next stage is to figure out the layout of where the devices will be placed on the fabric. The aim for this project was for the finished tabards to resemble the well known blue fabric with gold fleurs-de-lys of medieval France so I have chosen to use a repeated pattern of my gold bee badge stencilled in a strewn fashion across a blue ground fabric.

Jean Froissart, Chroniques 15th C
Bibliotheque National de France, Paris
To achieve the desired look, the device needed to be laid out in a staggered arrangement and be able to be uniformly replicated on each of the tabards front and back body pieces. The layout of the strewn charges is depicted in the image below:
To make the process easier when doing the strewn charges I measured once and then create a template that shows where the charges should be placed. This will avoid the necessity of having to constantly measure the placement of the charges every time you start stencilling a new piece of fabric. This very dodgy newspaper template saved hours of fiddly measuring in this project.
Stencilling hints
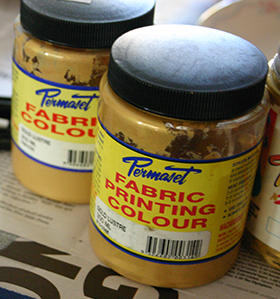
- Choose good quality fabric paint - thin paints will bleed under your stencil edges.
- Most screen printing paints work great but they’re toxic - work in a well ventilated area.
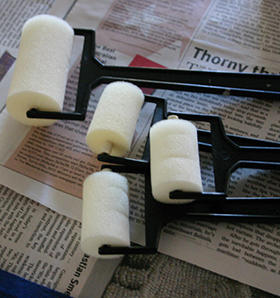
- Stencilling rollers are easier to use and more efficient than stipple brushes.
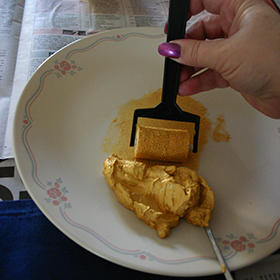
- Use an old dinner plate for your paint tray - it will stay still better than a plastic tray.
- Have some cling wrap handy to cover your paint and rollers if you need a break
 |  |
|---|---|
| Permaset Screenprinting Paint | Foam stencilling rollers |
- Do the job in small batches and wash your stencil carefully in between - they can become clogged with paint which can detrimentally affect the results.
- Try to load up the stencilling roller evenly with paint by rolling it different directions.
- Make sure the stencil is being held firmly in place to avoid ‘ghosting’.
- Try to avoid the temptation to increasingly apply too hard a pressure when rolling the brush as this can cause the paint to bleed under the stencil.
- If your foam roller becomes too ‘squished’ you may need to wash it out and dry it before continuing.
| Loading the roller brush | Hold the stencil firmly |
|---|---|
 | 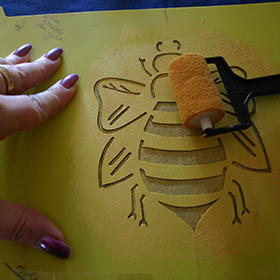 |
Stencilling through the cut outs in the templates
For large jobs like this where there were 14 body pieces being stencilled and 14 semicircular sleeve pieces as well it is likely that you will end with multiple pieces of fabric with screen printing paint on them in various stages of drying - a clothes drying rack or two is very handy to allow you to lay out all the wet pieces for drying without worrying about paint transferring to spots where it shouldn’t.

After your stencilling has dried, grab yourself a copy of the BBC’s Pride and Prejudice miniseries or perhaps Kenneth Brannagh’s epic four hour version of Hamlet and settle in for some long hard ironing action. The screen printing paint needs to be heat treated to set well. On large items like the St Florian Baronial Kingdom banners, I was able to lay them out weighted down on a hot driveway for several hours to try to heat treat the paint. With smaller items like these tabards each stencilled charge needs to be ironed for a couple of minutes to set the paint which while tedious is necessary if you intend to ever wash the tabards.
Time for an ironing intermission!
When you’ve completed heat treating the stencilled designs and you’ve sufficiently recovered from the tedium of ironing - you can now cut out the lining fabric. Lining your tabards will give them a more solid form, better finish and greater durability. I’ve chosen to line these ones with a gold/mustard coloured cotton poplin. After cutting all these out you’ll now have a nice pile of stencilled outer pieces and matching lining pieces.
The construction of the tabards is relatively simple.
- The shoulder seams on inner and outer are sewn together.
- The neck holes need to be cut into the tops of each of the body pieces, remembering to cut the neck hole lower in the front than the back.
- The sleeves are then folded in half to find centre and sewn in with the centre meeting with the shoulder seam on both the outer and the lining fabrics.
- The neckline can then be sewn and snipped to allow it to sit nice and flat.
- Then the outer edges are sewn shut.
- If you’re clever you can sew most of the tabard by machine leaving only a few centimetres of hand sewing where the garment was turned inside out.
The finished product for this project looked like this:

Lord Nicolas de Villiers
When you’ve got your tabards made you can bedeck an entire melee team or perhaps make a fabulous cohesive aesthetic statement for a special occasion, such as a Laurelling ceremony.
Sir Lorcan BigSpear, Lord Orlando the Pure, Count Sir Henri de Monferrant, Sir Philippe du Lac, Mistress Sabine du Bourbonnais, Angus of Addemere, Lord Nicholas de Villiers, Earl Sir Edmund of Shotley, Count Sir Eva von Danzig
Bibliography
- Cantor, Norman F - The Pimlico Encyclopaedia of the Middle Ages
Random House, London, UK 1999
ISBN 0892366427 - Fox-Davies, A.C - The Art of Heraldry
Bloomsbury Books, London, UK 1986
ISBN 0517187892 - Hallam, Elizabeth - Chronicles of the Age of Chivalry
Crescent Books, England, 1995
ISBN 0517140802 - Holme, Bryan - Medieval Pageant
Thames & Hudson, London 1987
ISBN 0500014213 - Neubecker, Ottfried - Heraldry - Sources, Symbols and Meanings
Tiger Books International, Twickenham, 1997
ISBN 1855019086 - Slater, Stephen - The Complete Book of Heraldry
Lorenz Books, London, 2002
ISBN 13579108642 - Woodcock & Robinson - The Oxford guide to Heraldry
Oxford University Press, London, 2001
ISBN 0192802267